Outside Plant (OSP) — Duct & Pathway Systems
Duct subdivision, installation and sealing for outdoor routes laid long before the cables arrive — the sequence that decides what it costs to extend an outside plant network.
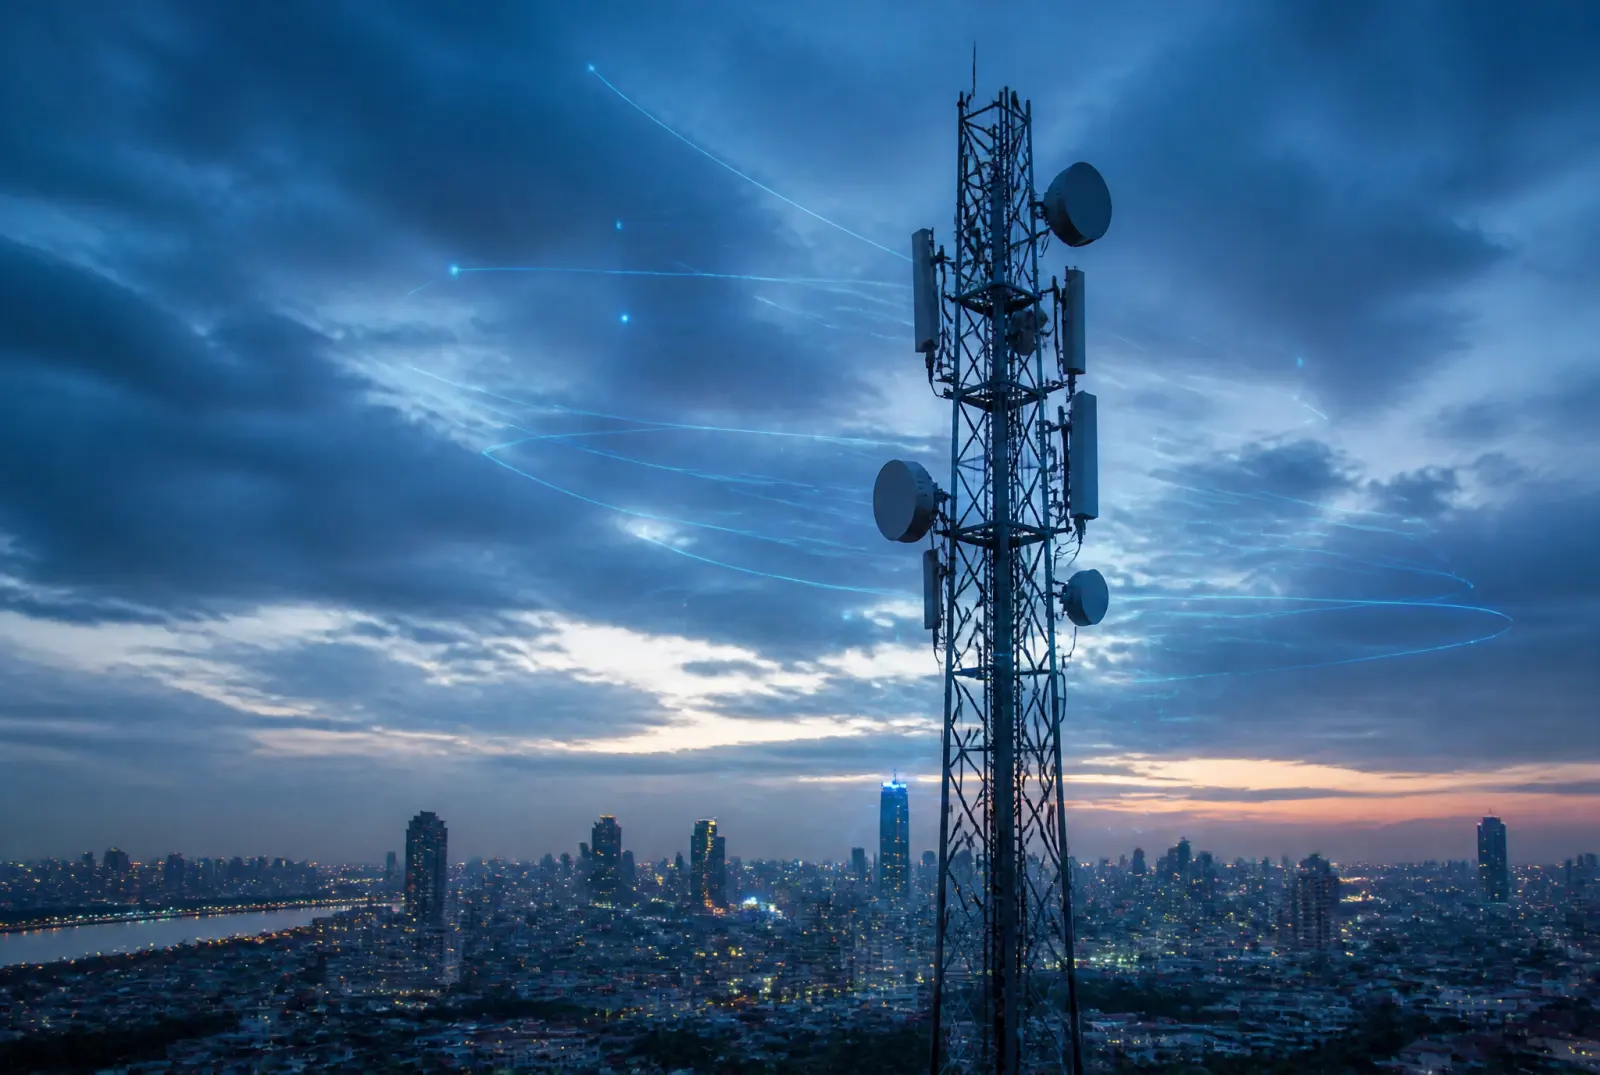
Overview
An outside plant route is decided long before anyone knows how many cables will run in it. A duct is laid while the road is open; the cables arrive over the following years, one operator and one service at a time. The gap between those two moments is where most of the cost of an outside plant network is created — not in the cable, and not in the digging, but in what happens when a duct sized for one cable has to carry six.
This page follows the construction sequence of an outside plant route: subdividing the duct, installing the cable, sealing the ends, and bringing the fibre into the building. It is the main line that the individual product pages link back to.
What this environment imposes
An outside plant route is not one environment. It is a chain of them: a duct run under a road, a manhole every so often, a jointing chamber where cable lengths meet, and a building entry at the end. Each has its own failure mode.
• Space is fixed, demand is not. The duct bore is set at construction; the number of cables that will pass through it is decided afterwards, by other people.
• Every opening is a way in for water. A manhole, a jointing chamber and a building entry all interrupt the route, so all of them are places where the seal has to work.
• Cable is expensive to re-pull. Once a duct is occupied, adding another cable means working around what is already there, or opening the road again.
• The route outlives the cables in it. The pathway will still be carrying traffic when the first cables installed in it are obsolete.
The route, stage by stage
The materials in this application follow the construction sequence. Read in that order, the parts make sense as a system rather than a catalogue.
|
Stage |
Products |
Product pages |
|
1. Duct subdivision |
Fabric Innerduct |
/fabric-innerduct/ |
|
2. Cable installation |
Cable Pulling Tape · Cable Pulling Grips · Cable Pulling Swivels |
/cable-pulling/ |
|
3. Duct sealing |
Inflatable Duct Sealing System · Reusable Sealing Bag · Duct Plugs |
/inflatable-duct-sealing-system/ |
|
4. Building entry |
Flat Drop Cable |
/flat-drop-cable/ |
1. Duct subdivision — where the route gets its future capacity
Subdivision is the stage that decides everything after it. A fabric innerduct is pulled into the existing duct and divides its bore into separate cells. Each cell can then be worked on as though it were its own duct: a cable can be installed in one cell without disturbing the cables in the others.
Three choices are made here, and only the first is genuinely hard to change later.
• Cell count — 1, 2, 3 or 4 cells to a single innerduct. Three cells is the most common configuration in access and distribution routes.
• Conduit size — the innerduct is made to suit the duct it goes into, across bores from 1.25″ up to 4″.
• Custom builds — cell count, dimensions, metre marking and packaging can be made to order.
Because the material is flexible and low-friction, it follows the duct that already exists rather than requiring it to be straight. That is what makes subdivision practical on a duct that is already in the ground.
2. Cable installation — getting the cable to the far end
The second stage is the pull. It is the point in the sequence where the route either accepts a new cable or damages it, and the materials that decide which are chosen on the cable, not on the job.
• Cable Pulling Tape — selected on width and breaking strength, and available with a detectable trace wire where the route may later need to be located from the surface.
• Cable Pulling Grips — selected by the outside diameter range of the cable, not by a tonnage figure. Each grip is made to suit a band of cable diameters.
• Cable Pulling Swivels — selected on rated pulling load. They sit between the grip and the pulling line so that twist in the line is not passed on to the cable.
The tape is normally installed with the innerduct and left in place, so later pulls reuse it. That is what makes a subdivided duct genuinely re-enterable rather than merely divided.
3. Duct sealing — closing the route
Cable routes leak at the ends. Every duct entry into a manhole, a chamber or a building is an opening between the sealed length of the duct and open air, and it is the way water and gas travel along the bore.
• Inflatable duct sealing system — seals the duct around the cable where it enters a chamber.
• Reusable / self-inflating sealing bag — a removable seal for ducts that will be worked on again.
• Duct plugs — selected on duct inner diameter and type: blank, single-cable, multi-hole or split.
Sealing is often left until last, and it is the stage whose failure is discovered years later, once water has already reached a joint. It belongs in the design, not on the snag list.
4. Building entry — the end of the outside plant route
The route stops being outside plant at the point it enters a building, but the materials have to work together across that boundary. The duct is sealed at the entry, and the cable that leaves it is a different kind of cable — flat, slim, and made to be fixed to a facade or a riser rather than pulled through a bore.
Choosing the innerduct: by cell count or by conduit size
The Fabric Innerduct range is organised two ways, and both are valid ways in.
|
If you are choosing… |
Start with |
Because |
|
By capacity — how many separate cables the route must carry |
By Cell Configuration |
The cell count sets the number of independent routes. 1, 2, 3 and 4 cell versions are each a distinct product |
|
By fit — what duct it has to go into |
By Conduit Size |
Conduit size sets physical compatibility with the existing bore, from 1.25″ to 4″ |
|
By project — a route with its own requirements |
Custom OEM |
Cell count, dimensions, metre marking and packaging made to order |
What goes wrong on an outside plant route
These are the failures that appear later, on a route that measured correct at every other step.
• Sizing the duct instead of the route — choosing on today’s bore rather than the number of cables the duct will carry.
• Ignoring the bend at the manhole — the bore is generous, the entry into the chamber is not, and that is where cable is damaged and pulls are abandoned.
• Leaving sealing until the end — a seal designed after the cables are in is a seal designed around a fixed problem.
• Installing cable without leaving a way to pull the next one — the tape costs little during installation and cannot be added afterwards.
• Putting different services in one cell — once two cables share a cell, neither can be worked on without disturbing the other.
• No identification — a subdivided route with no marking is a route that gets re-excavated by mistake.
Where this fits in the route
This page is the main line of the outside plant route: duct subdivision, cable installation, sealing and the drop into the building, in the order they happen. The Applications section is organised by environment, so the same materials appear on other pages with the emphasis changed.
Related applications: Data Centres and In-Building Pathways, where the same subdivision logic is applied to a route inside a building; and FTTH and Access Networks, where the final leg reaches the subscriber.
Related product ranges: Fabric Innerduct, Duct Installation Systems, FTTH Products.
Datasheet and ordering
Duct and pathway materials are ordered against the route they have to fit, so the data sheet is issued against your specification rather than published as a fixed table. Tell us the following and we will confirm the materials, the datasheet, a sample and the price together.
• The duct: internal diameter, length of the run, and whether it is new or already in service.
• What is already in it, if anything.
• How many separate cables the route has to carry now, and how many later.
• The cable being installed: type and outside diameter.
• The environment: buried, in duct, in a chamber, or entering a building.
FAQ
What is duct subdivision?
Pulling a flexible fabric innerduct into an existing duct so that its bore is divided into separate cells. Each cell carries its own cable, so a cable can be installed, worked on or replaced without disturbing the others.
Why not simply lay a larger duct?
Because the duct is already in the ground. Subdivision adds capacity to a route that exists, without new excavation — and excavation is usually the deciding cost.
How do we choose between 2, 3 and 4 cells?
By the number of independent routes the duct has to end up carrying, not by the number of cables going in on day one. Cell count is the one decision in the sequence that is expensive to revisit.
Do we still need pulling tape if we use innerduct?
Yes — and it is normally installed with the innerduct rather than with the first cable. It is what makes the subdivided route re-enterable.
Where should sealing sit in the programme?
In the design. Seals are selected on the duct bore, the cable and the conditions, and a seal chosen after the cable is installed is being chosen around a constraint that can no longer move.
How do we get a datasheet?
The data sheet is issued against your route. Send the duct size, the cable and the environment and we will confirm the materials and the data.
Request a quote
Tell us about the route — duct size, what is already in it, and what it has to carry. We will come back with the materials it needs, a datasheet and a price together.
Notes for the web build
• H2 structure: Overview · What this environment imposes · The route, stage by stage · Duct subdivision · Cable installation · Duct sealing · Building entry · Choosing the innerduct · What goes wrong · Where this fits in the route · Datasheet and ordering · FAQ · Request a quote.
• Keywords: outside plant, OSP duct systems, duct pathway, conduit pathway, duct subdivision, fabric innerduct, cable pulling tape, duct sealing.
• This is the main-line page for the outside plant route. Every product page in the route links back to it with a “Where this fits in the route” line — keep those links pointing here.
• Do not publish a specification table on this page. Specifications belong on the product pages.
• Images: one environment photograph as the hero, plus the four route stages shown as small inline visuals. The subdivision diagram is the single most important visual on this page.
Internal notes (not for publication)
• Page name: the adopted site taxonomy uses “Outside Plant (OSP) — Duct & Pathway Systems” with the URL /applications/outside-plant/. The Applications hub card currently reads “Telecom & Outside Plant”. Use one name in both places; the taxonomy name is the safer choice because set page titles already reference it.
• Hero image: the chamber photograph supplied with this set is a generated scene visual, not a site photograph. Label it as illustrative on the page — in this segment an unlabelled render is read as a stock image.
• Naming discipline: do not use Kellems or Mule Tape as product names. Both are marks owned by others, and neither is a category name.
• The four-stage route above is the sequence already adopted in the site taxonomy. Do not reorder it on this page without changing the taxonomy.
Confirm before publishing
• Whether the four stages match how your own team describes the sequence.
• Whether every product named in the route table exists in the range under that name.
• The cell configurations actually offered (1, 2, 3, 4) and the conduit sizes actually covered.
• Whether you want the innerduct presented first as a capacity product or as a cable-protection product.
• Whether the environment image may be used unlabelled, or should carry an illustration note.
Request a quote
Tell us about the route — duct size, what is already in it, and what it has to carry. We will come back with the materials it needs, a datasheet and a price together.
Contact Our Team